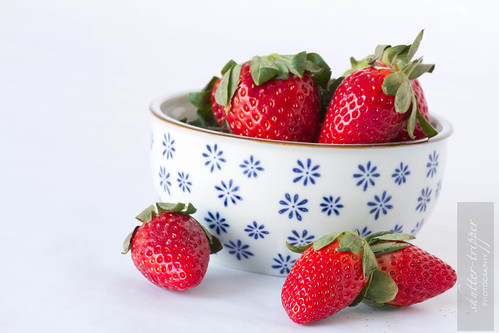
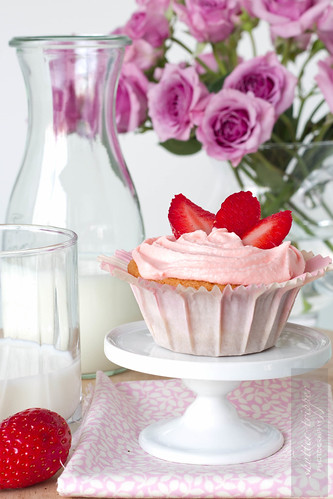
I got the idea of strawberry cupcakes because I found strawberries at unseasonably low prices at my neighbourhood grocery store. And since I'd been promising to bake cupcakes for the past month, I thought I should just seize the opportunity and the berries and put them to good use.
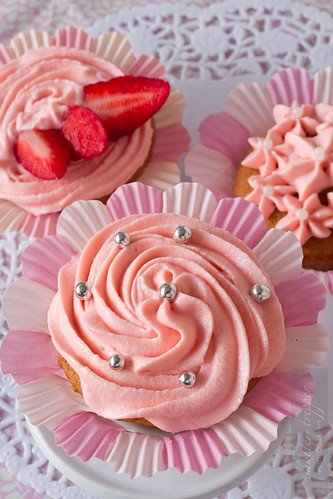
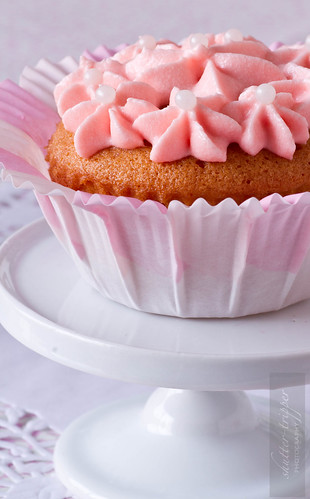
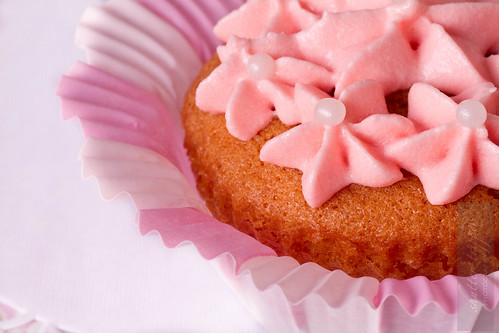
I recently indulged in some baking tools and this would be the best occasion to break out my neat little cupcake liners. I love the pattern and thought they would be perfect for the pink delights.

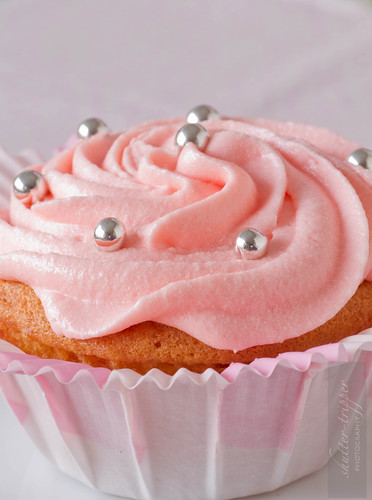
I'm not that great at piping, but thought I'd take the opportunity to just use the pastry tips the best I can. Didn't turn out too bad in the end, did they?
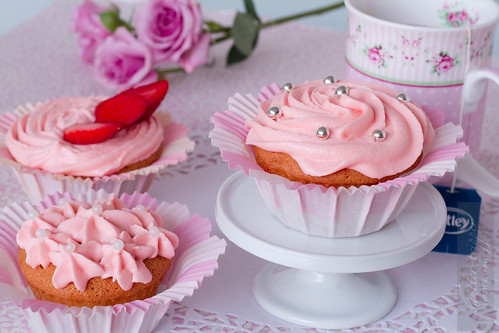
Enjoy your cupcake with a glass of milk, or a cuppa tea or coffee!


Here's the super-easy recipe!
The Cupcake
Self-rasing flour - 150 gms (5 oz)
Baking powder - 1/2 tsp
Salt - a couple of pinches
Granulated sugar - 150 gms (5 oz)
Butter (room temperature) - 150 gms (5oz)
Eggs, beaten (room temperature) - 3 (medium)
Vanilla essence - 1/2 tsp
Strawberry essence - 1tsp
The Low-Fat Cream Cheese Frosting
Light cream cheese (room temperature) - 125 gms
Butter - 100 gms
Confectioner's/icing sugar - 8 0z
Strawberry essence - 1 tsp
A few strawberries and other decorations for the topping
Method
The cupcake
- Preheat the oven to 350 deg C.
- Line a cupcake pan with paper liners, or grease it and keep aside.
- Put the butter in a bowl and beat with an electric beater for a minute or so.
- Add the sugar (preferably sifted), a bit at a time and beat until light and fluffy. Scrape down the sides of the bowl as necessary.
- Add the vanilla essence and then slowly add the eggs; continue beating for another minute or so. You might find the mixture curdling a bit, but don't worry, it's normal.
- Sift the flour, baking powder and salt together in another bowl.
- Add the dry ingredients to the wet. Start on a low speed and gradually increase the speed till the mixture is light and fluffy again.
- Fill the cupcake pans halfway to the top with the batter.
- Bake for about 18 - 23 mins. You will need to check the cupcakes at the 18 min. mark so see if a toothpick inserted in the centre comes out clean. If you see a few wet crumbs, leave them in for a couple of mins. and check again. Baking them too long can make them chewy and dense.
- Once the cupcakes are done, let stand for a couple of minutes and them remove them to a wire rack to cool completely.
The frosting
- In a bowl, beat together the butter and cream cheese till fluffy.
- Slowly add the sugar and strawberry essence.
- Add the cream, if using.
- Beat on high for 3 - 4 mins. till light and fluffy. The mixture should form firm peaks.
- If the mixture looks too runny, add more sugar; if it looks too thick, add a teaspoon full of cream at a time to bring it to piping consistency.
- Use a piping bag to pipe the frosting on to completely cooled cupcakes, or use a knife to slather on the frosting.
- Top with fresh strawberries or other decorations.
Chef's tip: I prefer to keep it low in fat and sugar, but you are very welcome to use the full fat cream cheese and sweeten it to your taste as well. The original recipe called for 2 cups of sugar, but I used only a cup (8oz). Additionally, I omitted the cream. If you use 2 cups of sugar, you will definitely need some cold whipping cream to thin the frosting down a bit and add some fluffiness. Cream makes it lighter on the palette, but it's far from lighter on the system, if you know what I mean!
And by the way, keep a look out for my Chocolate Lava Cake recipe to come in the next couple of weeks, if not sooner. :)
This is not the first of your posts I've read, and you never cease to amaze me. Thank you, and I look forward to reading more.
ReplyDeleteatta ur rehman
Gawd dam, woman! Sell these shots to Getty Images, pronto. They're indistinguishable from the pics in Martha Stewart's cookie ebook. You have a promising career as a food photographer ahead of you.
ReplyDeleteWaiting for the lava cake. This one is so pretty. I can never do a frosting right, this looks perfect
ReplyDelete@Atta ur Rehman: Thank you for your visits and kind words. It's much appreciated!
ReplyDelete@Jim: You made my day! :) Thanks a bunch!
@Bong Mom: Thanks for the visit. Lava cake will soon be in the oven! ;) And frosting-wise, I'm a novice myself, so I can't really give you any expert advice on that. :(
Oh look simply fabulous! Yummy Yummy! Either tonight or tomorrow, I'll some infrared shots of my amaryllis. Still have download the photos and work on. Just hope they look good.
ReplyDeletehttp://thequietone.net
Thanks, Cathy! I'm looking forward to seeing your IR shots. The last one I saw you had done of your Christmas tree was great!
ReplyDeleteSo yummy. Toni, this is fantastic.
ReplyDeleteSwati, thanks a lot! :) xoxo
ReplyDeleteLooks amazing!! But I am not sure I would be willing to actually EAT something which looks sooo perfectly delicious!!
ReplyDelete@Knowall's Box: LOL but unlike the commercials in which the food is nuked, or zapped, or coated with oil and what have you, this one's perfectly natural and absolutely fresh!
ReplyDelete