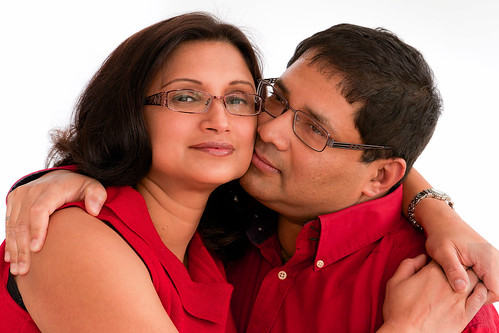
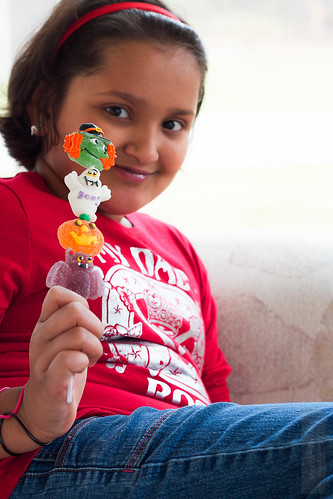
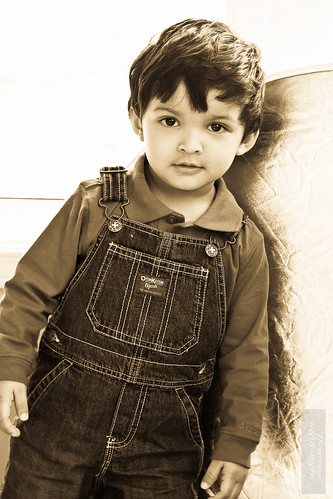
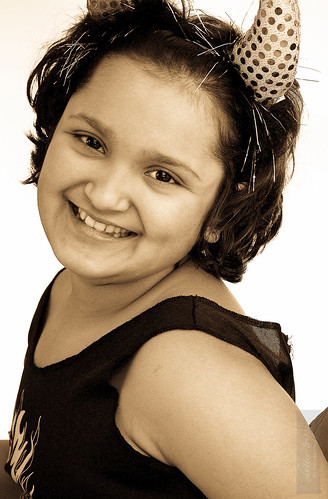
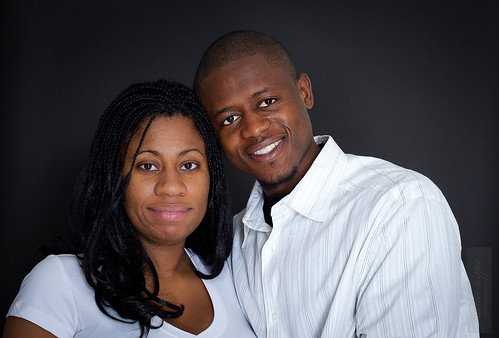
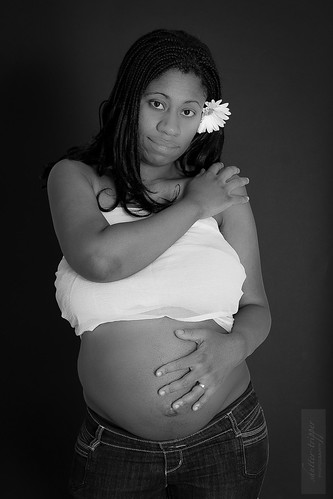
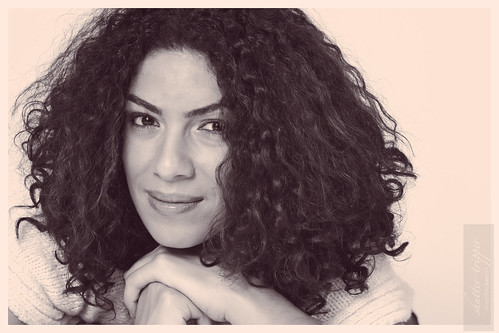
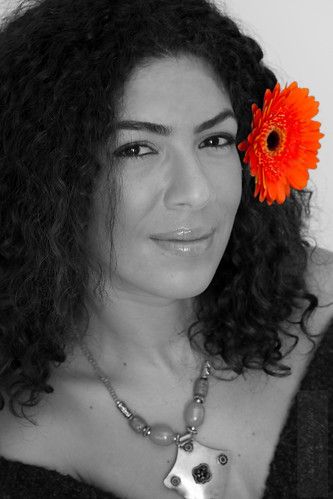
To all ye who want to paint with light ...

I should have started this blog many moons ago as I started experiencing the joys of rediscovering the art of photography. But as the saying goes - it's better late, than never!
So, here I am, in the hopes of recording what I learn as I progress from ignorance to enlightenment; about what my eyes can see that my camera can capture; and, what my mind imagines and my camera paints with its capabilities.

Please feel free to add any comments and share your wisdom (tips or tricks) that you have picked up along the way.

And do check out my How-To and Birding pages as well.


Sunday, December 23, 2012

Holidays without cookies?! Nah!  Only double-chocolate will do!


I haven't blogged (serious & passionately) in like a million years!  I thought I wouldn't be able to log in to this old blog again.  I do have a new blog now that I'm doing professional photography, but I would definitely like to keep this for my food and other random wacky moments.  But if you're interested in my portrait photography, please visit http://shuttertripperphotography.wordpress.com/.  And you're very welcome to follow and "like" my photography page on Facebook as well: http://www.facebook.com/ShutterTripperPhotography. I regularly post updates on my photo shoots and I'll soon be starting some contests and other interesting activities. 

Anyway, back to the job on hand.  I have been working super hard to get my business established while working a 9 to 5 job and having other domestic responsibilities.  I didn't think a lot about setting up my business till I actually started.  Man, oh man, is it ever tough!  

But I have to be honest - I'm loving every moment of it as I shape it with my own pudgy hands, and give it the look and feel I can identify with.:)  

And my new website is now up and running and starting to look close to how I wanted it: www.shutter-tripper-photography.com. If you happen to visit, please let me know what you think. :)

Amongst all this madness over the past 3 months, I have been missing meals (mostly eating them, since I have to provide for a hungry teenager all the time), missing sleep, missing blogging, but most of all, I've been missing catching up with friends, but I have such a great bunch of those, I know they understand and are super supportive despite my recent lapses! I couldn't do it without their support and constant encouragement!  

Blogging used to be a great way for me to vent, rant, rave and ramble.  I had been bottling it all up.  And finally, after months and months of hibernation, I broke out my bakeware again, and fired up my oven, just so I could blog about my second greatest passion - cooking!  

What good are the holidays without some chocolate rush? So, here's killing two birds with one stone - baking some chocolatey treats, and blogging the recipe for all those who want to try it! They turned out delicious.  In hindsight, it would have been nicer if I'd added some chopped nuts. :-S

Double-Chocolate Cookies


Ingredients:

3/4 cup butter
1 cup packed light brown sugar
1/2 cup granulated sugar
1 tsp vanilla
2 eggs
2 1/4 cup all-purpose flour
1 tsp baking soda
1 tsp salt
3/4 cup milk/dark chocolate chips
3/4 cup white chocolate chips


Directions:

  1. Heat oven to 375 deg F (190 deg C).
  2. In a large bowl, beat butter and both the sugars till light and fluffy.
  3. Beat in eggs and vanilla until creamy.
  4. In a medium bowl, mix together flour, baking soda and salt; add to butter mixture slowly.
  5. Add chocolate chips and mix. 
  6. Drop by tablespoonfuls onto ungreased cookie sheet. 
  7. Bake 8 - 10 mins. or until lightly browned.  
  8. Let cool slightly and remove to wire rack.  Cool completely before storing. 
  9. Makes about 3 dozen large-ish cookies.

I would love to hear from all of you and although I don't promise to start blogging here as regularly as I would like to, I will definitely be passing by now and again.  


Wishing you all a Merry Christmas, happy holidays, and a wonderfully happy, healthy and peaceful 2013!  

Sunday, April 29, 2012

My travel article published

I have been a little bit lazy about blogging regularly, to the extent that I forgot to share the last article that was published.

Remember the trip I took last summer to Charlevoix?  Well, I had finally decided to write it up and send it for publication to the website that had published my blueberry trifle recipe.

So here is the first part of my story on Charlevoix.  And if you're planning to visit this region, you must definitely read this.  Stay tuned for the sequel, which should be ready shortly.

Please share the article if you like it and for that, I'd like to thank you in advance. :)

Saturday, April 21, 2012

Foggy Memories

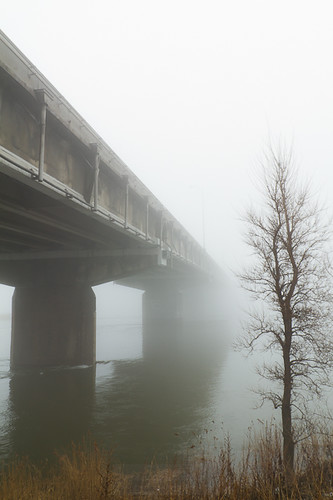
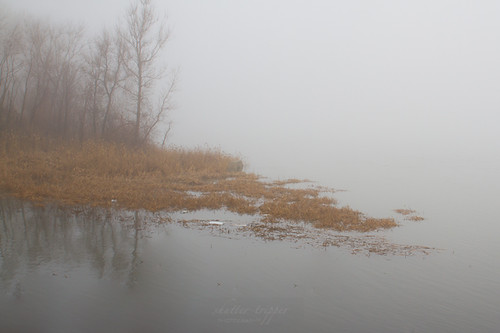
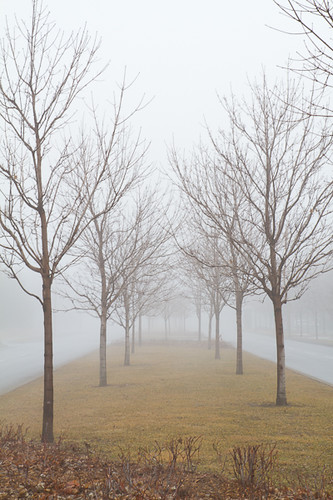
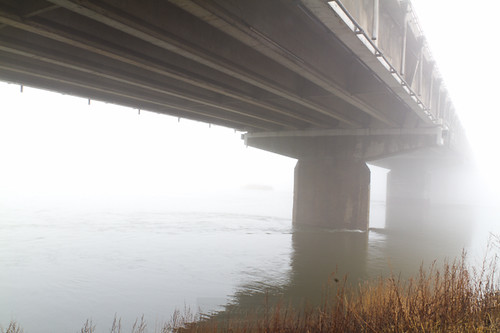
The memories do seem foggy now.  I had completely missed posting these images earlier.

It was a few weekends ago and the fog was dense and long-lasting.  I remember waking up and seeing all this fog outside my window.  And despite being under the weather myself, I couldn't let the mist just roll past me and slip through my fingers without my recording it.

As my friends rightly point out, no matter how much I complain about not feeling up to doing anything, if I find a photo op, I will forget all my woes, grab my camera and be up for some shooting.  I say, my friends know me well!  :)

Here are the images from that day:

IMG_9581.jpg

Foggy Day 1

Foggy Day 2

IMG_9576.jpg

Monday, March 19, 2012

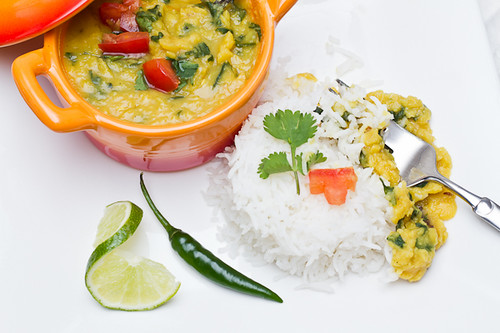
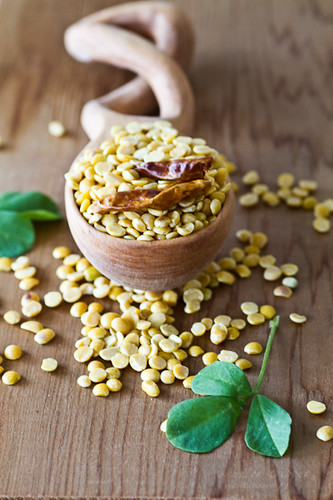
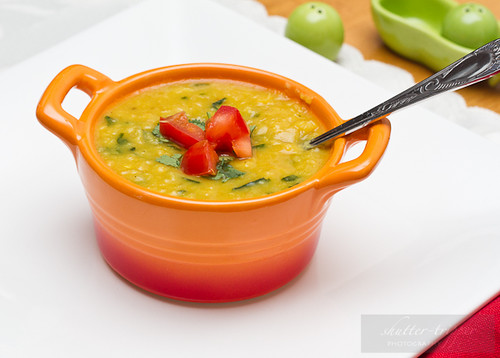
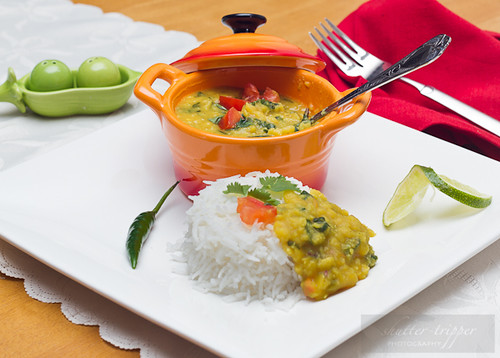
Methi Dal (Yellow Pigeon Peas with Fresh Fenugreek Leaves)

Methi (fenugreek), whether used as a herb or a spice adds a wonderful flavour to Indian cuisine.  However, there are other uses for Methi and you might want to check the Wikipedia for this.

Methi, in its fresh form can be used to make side dishes like Aloo Methi (potatoes with fenugreek), Methi ka Paratha (Indian flat bread with fenugreek), Methi Pulao (rice with fenugreek) - you name it!

IMG_9560.jpg

I had been getting a little bit bored with my dal recipes, so when I happened to come across this one I thought it might be a great idea to give it a try.  This recipe isn't mine.  Purna Chowdhury, a very accomplished culinary enthusiast, was really kind to share this recipe with some of us.  If you want to find more of her fantastic recipes, please go ahead and check her out on Facebook.

IMG_9521.jpg

If you are interested, you might ask her to add you to the foodie group I found this recipe in.  She has a fantastic repertoire of different types of cuisine, and if you're nice and make a request for a specific recipe, she might pull it out of her hat just for you!

Additionally, there are hundreds of other foodies sharing their recipes (me included ;-)), so this should be incentive enough to go join the group.  But do remember - to get some, you need to give some.  Only fair, right?!  So, share your favourite recipes and get some from the others.

IMG_9533.jpg

The dal turned out fabulous and I might try this in future with spinach to replace the methi.  And to add a note, I served this daal with a squish of lime over hot and fluffy basmati rice with Aloo Methi on the side (another friend's recipe, but I didn't have the time to take any pictures).

IMG_9549.jpg

To prepare your fresh Methi, my friend Swati told me that you should first pluck the leaves from the stalks, making sure you don't include the stalk, and then wash the leaves thoroughly.  Once you've cleaned the leaves of the sand and grit, soak in cold, saline water for about 20 minutes.  When ready, wring the water out of the leaves and chop them up roughly and you're good to go.  Thanks for the tip, Swati! :)

You will need:
Toor Daal (yellow pigeon peas): 250 gm (cooked with a little salt and turmeric)
Two cups of fresh Methi (fenugreek) leaves/two small blocks of frozen Methi
Whole cinnamon and cloves: 1 tsp
Grated garlic: 1 tsp

Grated ginger: 1tsp
Tomatoes: 2-3
Cinnamon powder: 1/2 tsp
Coriander powder: 1tsp
Fresh coriander, chopped: 1/2 cup

Vegetable oil: 1 tbsp
Ghee: 1 tsp (optional)Salt to taste
Method:

  1. Add the oil to the pan and add all the whole spices. 
  2. Add garlic, ginger; saute for half a minute on low heat.
  3. Add the chopped methi, tomatoes and salt; let it turn to a gravy.
  4. Add the cinnamon and coriander powders and stir till the mix is consistent. 
  5. Add the daal and stir well; cook for another 5 minutes or so till well blended.
  6. Add a teaspoon of ghee (optional) and serve garnished with coriander.
Happy smacking-your-lips! :)

Friday, March 9, 2012

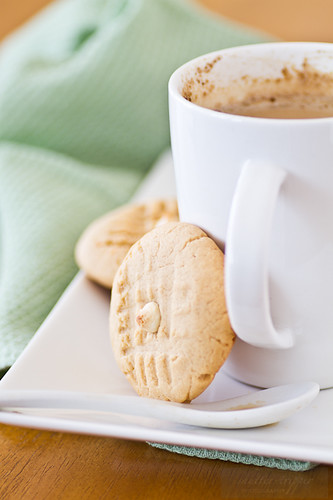
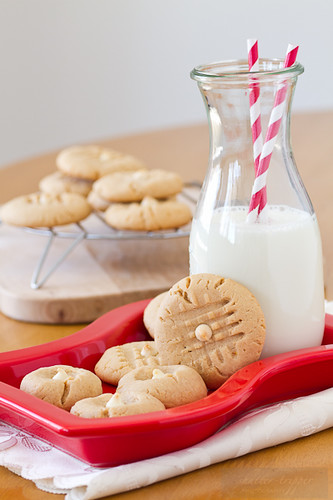
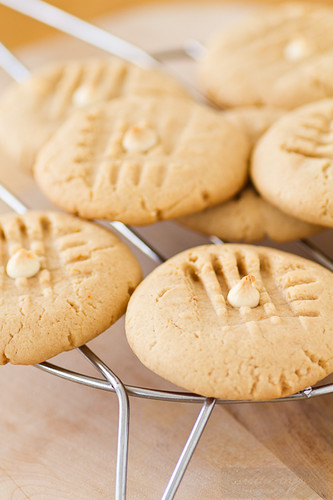
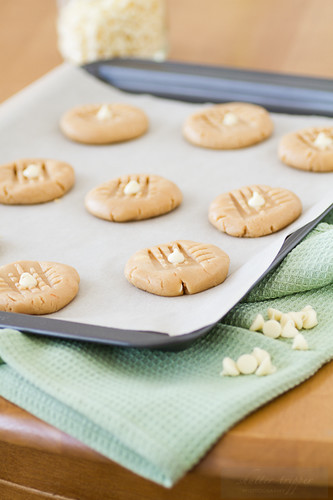
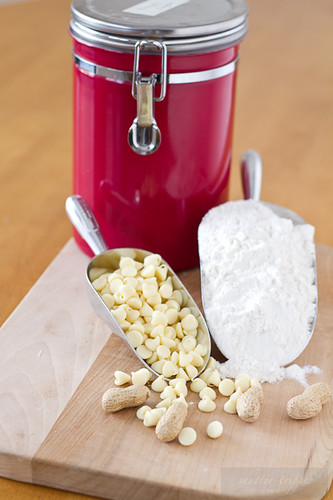
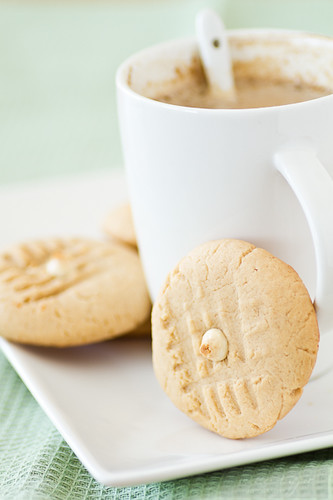
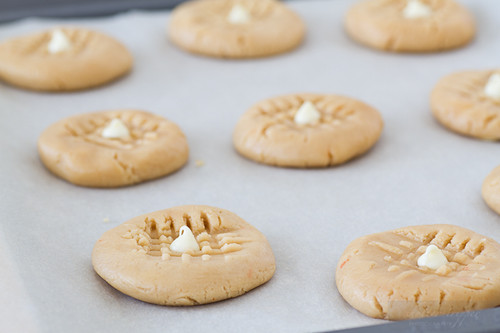
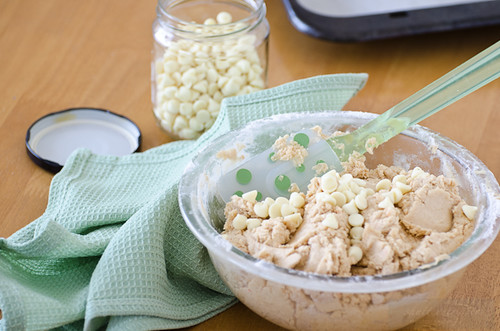
Peanut Butter & White Chocolate Chip Cookies with Orange Zest

IMG_9489.jpg

IMG_9473.jpg

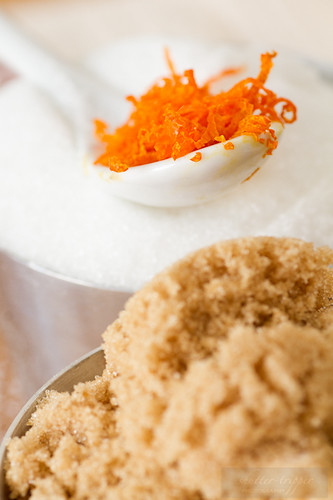
This was my first attempt at making peanut butter cookies.  I adapted the recipe from here, but as always, tweaked the recipe quite a bit.  I made it into a peanut butter and white chocolate cookie with an orange twist.

IMG_9464.jpg

IMG_9429.jpg

IMG_9459.jpg

The recipe was easy, but I found that I needed to add at least a cup of milk to the dough to get it to the right consistency.  The cookies turned out a little bit dense, but on storing them overnight, a lot of the moistness returned.  Anyone that likes peanut butter cookies would really enjoy these, but I think I might move on to different cookies the next time around.

IMG_9441.jpg

IMG_9405.jpg
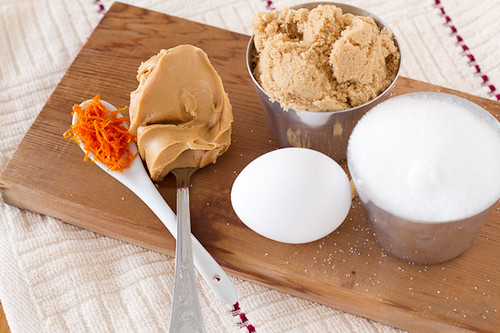
You will need:
3/4 cup (170 grams) unsalted butter, room temperature
  • 1/2 cup (105 grams) light brown sugar
  • 1/2 cup (100 grams) granulated white sugar
  • 1 large egg
  • 1 teaspoon pure vanilla extract
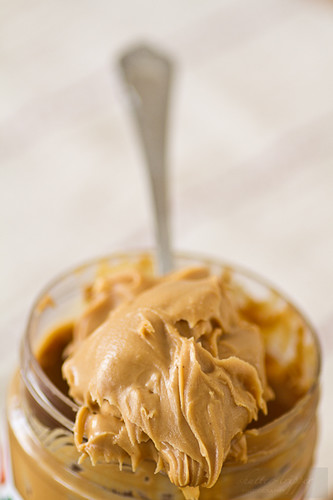
  • 3/4 cup (185 grams) peanut butter (smooth or crunchy)
  • 2 cups (260 grams) all purpose flour
  • 1/2 teaspoon baking soda
  • 1/4 teaspoon salt
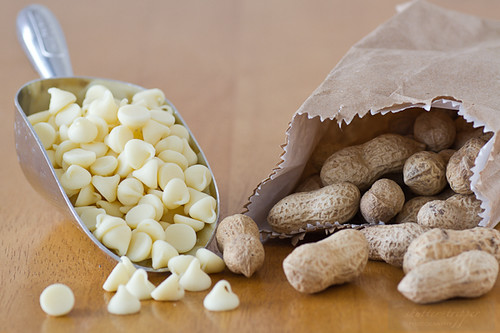
  • 1/2 cup chopped peanuts or 1/2 cup white chocolate chips (optional)
  • 1 teaspoon orange zest (optional)
  • 1 cup cold milk (if required)


IMG_9424.jpg

IMG_9422.jpg

IMG_9488.jpg


Method
  1. Preheat oven to 350 degrees F  and place rack in the centre of the oven. 
  2. Line two baking sheets with parchment paper.
  3. Beat the butter and sugars until light and fluffy (about 2 - 3 minutes). You could use an electric mixer for this, but I used a hand mixer.
  4. Beat in the peanut butter. Add the egg and vanilla extract and beat to combine. 
  5. In a separate bowl whisk together the flour, baking soda, and salt. 
  6. Add to the peanut butter mixture and beat until incorporated. Fold in the chopped peanuts if using, if using, the white chocolate chips and the orange zest. (If the batter is too dry at this point, add milk a few teaspoons at a time. Alternately, if the batter is too soft, keep in the refrigerator for 30 minutes before forming into balls.)
  7. Roll the batter into 1 inch (2.5 cm) balls. 
  8. Transfer the cookies to the prepared baking sheet, placing about 2 inches (5 cm) apart. Then, using the tines of the fork that has been dipped in white granulated sugar, make a crisscross pattern.
  9. Bake the cookies for about 10 to12 minutes, or until the cookies are lightly browned around the edges. 
  10. Remove from oven and place on a wire rack to cool. Can be stored at room temperature, in an airtight container, for about a week. Freeze for longer storage.

Makes about 40 cookies.

IMG_9453.jpg


DSC_0123.jpg

IMG_9485.jpg

Thursday, March 1, 2012

Monday, February 20, 2012

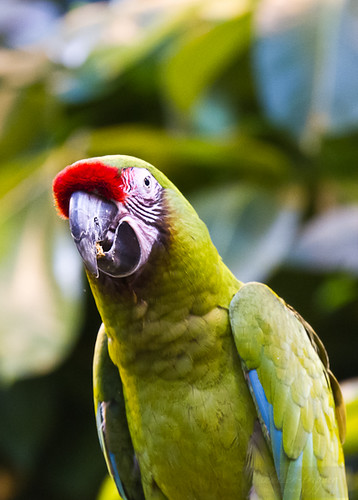
New post on my birding blog - Hyacinth Macaws

Some images from my recent trip to the Montreal Biodome.  I absolutely fell in love with these birds!

http://shinydewdrop-birdwatching.blogspot.com/2012/02/hyacinth-macaws.html

Enjoy!

Saturday, February 18, 2012

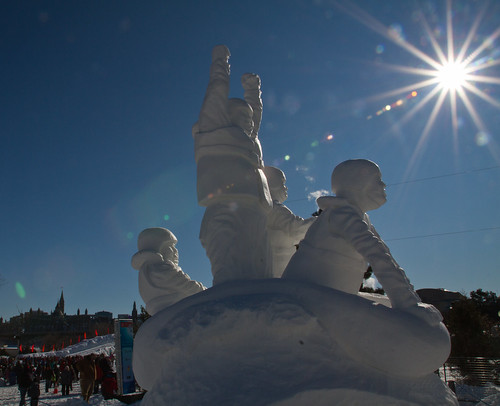
Ottawa Winterlude 2012

As promised, I have finally managed to post a few images from the trip to attend the festivities in Ottawa a couple of weekends ago.  I am getting ready to go see the butterfly exhibition tomorrow, so I thought that I should play catch up on my overdue post on this.

Too see more from this album, please visit my Facebook page from the link below.  Don't forget to share the love and put a "Like" on my page and thanks a lot to those who stop by!


Ottawa Winterlude 2012

Sunday, February 12, 2012

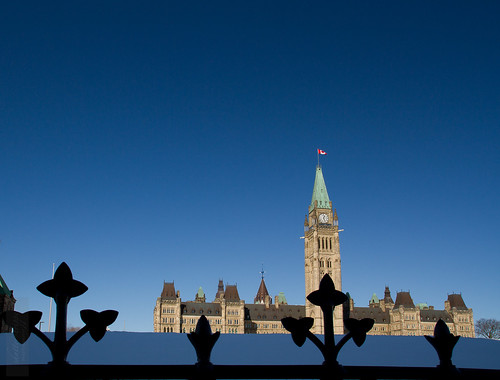
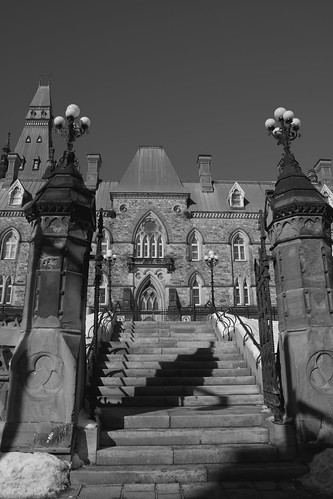
Ottawa

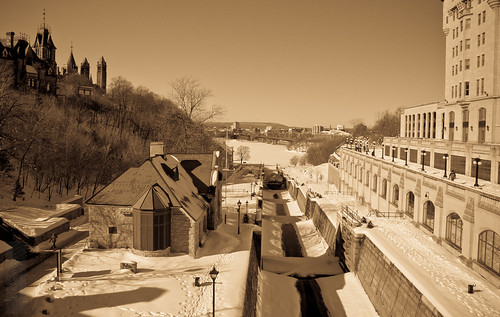
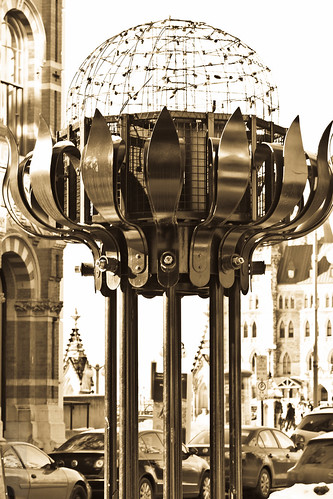
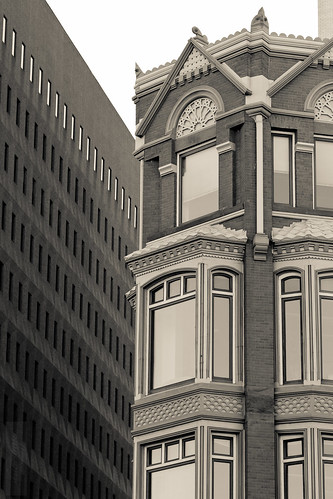
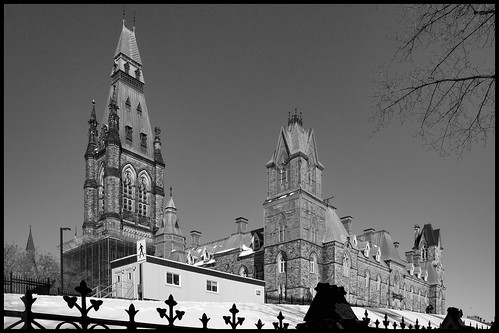
Here are some images of the Canadian Parliament and some other interesting architecture from my recent trip to Ottawa.  I will be posting some images of the Winterlude (which was the primary reason for the trip) in a few days.

IMG_8950

IMG_8952

IMG_8949


IMG_8961

IMG_9075

IMG_9060

IMG_8945 copy

IMG_9159.jpg


Sunday, January 22, 2012

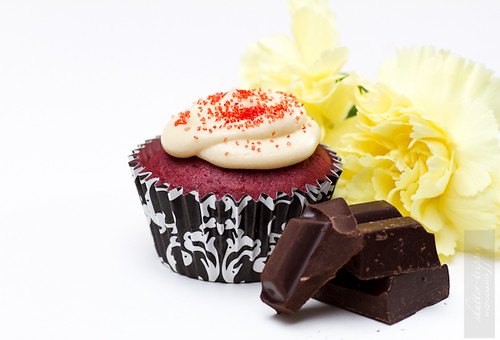
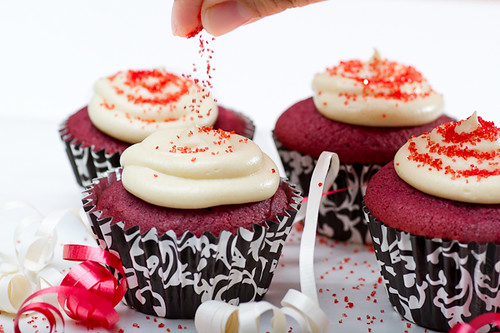
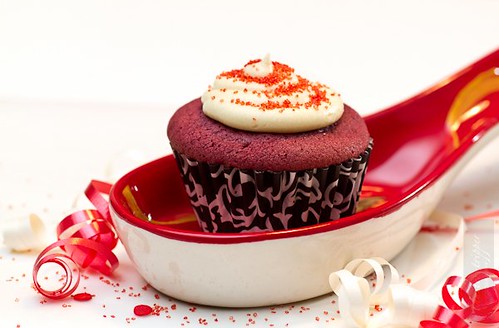
Red Velvet Cupcake

IMG_8515.jpg

After my lazy version of the Chocolate Lava cake turned out to be a flop, I was looking for another recipe that had chocolate in it.  I will try the lava cake again and let you know how it turned out, but for now, here's something else.

I had Red Velvet cupcakes in mind for a while now as well, so I recently went and dug the recipe out from my archives (and yes, my archive for recipes to try is quite a large one, so stay tuned for future recipe posts).

I adapted the recipe from the original, which I almost always do (call it some kind of cheap pleasure at perpetually wanting to bend the culinary rules; mind you, I never break the law, though!).  I mostly used my own measurements for flour and butter as I normally use for my regular cupcakes, simply because I like their light and fluffy texture.  However, I found the Red Velvets a little bit on the heavier side, probably because of the buttermilk the recipe called for.

IMG_8499.jpg

Please read on for my version of the recipe.  Not too many images this time, as I baked in the evening, and there wasn't much time to try out different setups.  I also wanted to try my hand at using artificial lighting for my food photography, and this was actually one of those exercises.  I don't have very high-end lighting equipment, but what I have right now will need to be tweaked a little further, so I can get some nice results.  An exercise for another occasion.

IMG_8506.jpg

The Cupcake
Self-raising flour - 150 gms (5 oz)
Cocoa powder - 2 tbsp
Baking powder - 1/2 tsp
Salt - 1/4 tsp
Unsalted butter, softened at room temperature - 1/4 cup
Granulated sugar - 150 gms (5 oz)
Buttermilk - 1/2 cup
Egg (large) - 1
Pure vanilla extract - 1 tsp
Red food coloring - a few drops

Low Fat Cream Cheese Frosting
Icing or confectioner's sugar - 1 cup
Low-fat cream cheese, softened at room temperature - 125 gms
Unsalted butter, softened at room temperature - 50 gms
Milk - 1 tbsp
Pure vanilla extract - 1 tsp
  1. Preheat oven to 350 degrees C. Line a muffin pan with cup cake liners and set aside. 
  2. In a small bowl mix together the first 5 ingredients and set aside.  
  3. In a separate bowl, cream together the sugar and butter, until light and fluffy.
  4. Add the egg and vanilla and mix until well combined.
  5. Add half of the dry ingredients and half of the buttermilk, making sure it's combined.
  6. Add the remaining half of the dry ingredients and buttermilk; combine everything together but do not over mix.
  7. Add enough food coloring to get the desired red color for your cupcakes.
  8. Using a spatula mix the batter thoroughly making sure nothing is left on the sides of the bowl.
  9. Using a large ice cream scoop, scoop the batter evenly into your prepared cupcake liners and bake for 18 to 22 minutes or until a toothpick  inserted  in the center comes out clean.
  10. Let the cupcakes cool completely before you frost them.
  11. To make the frosting, simply put all the frosting ingredients into a bowl and mix well with an electric hand mixer.
  12. Mix until well combined and the frosting has a thick-ish consistency.  You can adjust the consistency by adding a tablespoon of milk at a time if it's too thick, or adding a tablespoon of sugar at a time if it's too runny.
  13. Frost the cupcakes either with a little spatula or use a piping bag fitted with a plain large tip.
  14. Let cool in the fridge for about 10 to 15 minutes to allow them to set a little before serving (if you can resist them anyway)

Saturday, January 14, 2012

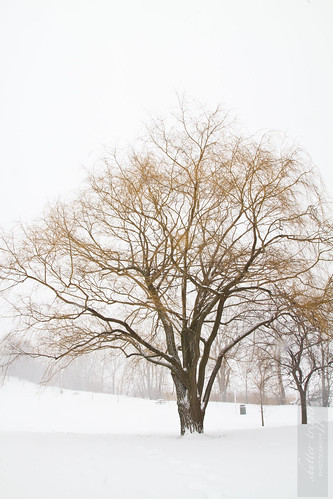
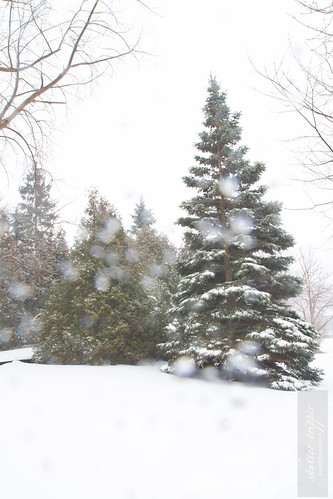
Snowstorm

Just a quick post on the snowstorm that's been throwing things out of gear here in Montreal and the surrounding areas over the last couple of days.  I decided to work from home because I had a really hard time driving back in the snow last evening.  The car skidded a number of times and once I got home, I had an even harder time trying to get the car into the parking spot.  There was way too much snow and it felt like I was driving into a snow bank.  I was nervous as hell, this being the first major snowstorm I've driven in, and I just didn't want to risk driving back and forth today, especially after a freezing rain warning.

Snowstorm-13012012-1  
I had wanted to get to the last row of trees you see in the background.  The white field of snow beyond that row of trees is actually the frozen river :)

My bedroom blinds were pulled down, so I hadn't a clue what was happening outside since the morning, till I got up to go to the kitchen to grab something for lunch.  Lunch was forgotten when I saw that the snow was coming down in humungous flakes.  I donned my protective clothing, packed up my camera, picked up my tripod and headed out into the snow.  

I was optimistic about being able to get close to the river, because I wanted a shot of the Champlain bridge across the river in the snowy haze.  But no such luck!  The snow was at least 6 - 8 inches deep, and there was no way I could go in there.  I didn't have a lot of time, since I had to get back to my work, so I just put down my tripod any where I could and shot off a few frames.

I'm not totally satisfied with the compositions for a couple of reasons - I had to hurry back, and you cannot really do a lot when you are strapped for time.  I was using my 17 - 50 mm lens, but the snow prevented me from going further back to be able to get more of the scene.  So, I just mostly stayed in one place and did what I could.  Additionally, the snow was getting on my lens and it just didn't feel safe.  So, I packed up after about 10 shots or fewer, and headed back home.  I got some curious looks from the occasional drivers who were brave enough to be on the road - I just smiled back at them, knowing what they might be thinking - what a crazy woman she must be! ;-)

Snowstorm-13012012-2

Snowstorm-13012012-3
The white blotches in this image is snow on my lens :)

Saturday, January 7, 2012

Thursday, January 5, 2012

Photo shoot from the past

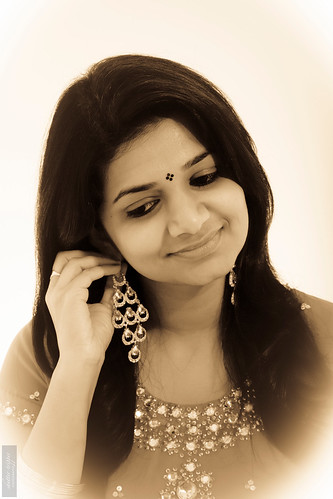
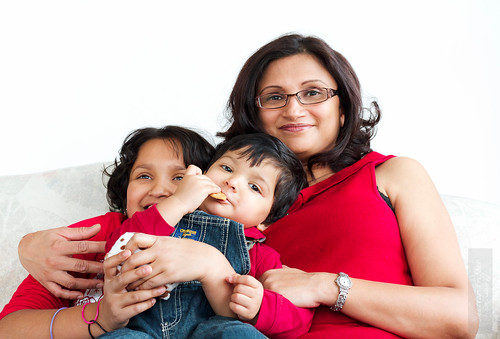
Last year (it sounds like some time in the distant past already) I actually did a number of photo shoots for different people and occasions, but didn't really get a chance to post any images from those shoots.  However, I thought I would set that right, since this blog should ideally reflect all my exercises in photography at any point in time.  And they say that it's better late than never, isn't it!  So, the images are better late, because it gives me a chance to go back and see what I have really done by way of portraiture and how my skills and style have evolved.

I'd also like to mention that I now have a photography page on Facebook.  It would be wonderful if you stopped by and "Like"-ed the page, since I know you stop by here often because you like me! Jokes apart, it would mean a lot if you dropped by and said "hello" on FB.

Here are some images from a few of the photo sessions:

IMG_4608

IMG_4619

IMG_4687

img_6152

img_6071

img_6172

img_6055

img_6119-2

img_6163-2

dc2-175

dc2-166

dc2-153

IMG_6269

eoit-101

eoit-158 (1)

eoit-144


FB-8

FB-6

FB-5

FB-4

FB-3